DIY Basics for Beginners: Start Smart + Avoid Common Mistakes
DIY Basics: What Every Beginner Should Know Before Starting
Starting DIY can feel overwhelming tools, measurements, safety, and “where do I even begin?”
This beginner-friendly guide breaks down the DIY basics for beginners so you can start your first project with confidence (even if you’ve never built anything before).

Quick Start Checklist (Save This)

Before you start any project, make sure you have:
A clear plan (even a simple sketch)
A safe workspace (good light + clean surface)
Basic measuring tools
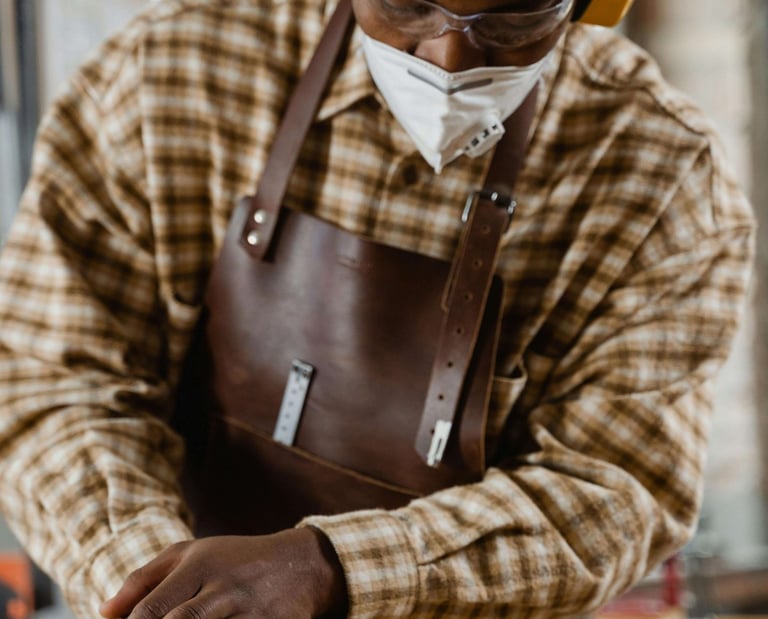
Safety gear
One small “first win” project
1) Choose the Right First Project (Keep It Small)
The fastest way to build confidence is to start with something simple:
A small shelf
A basic storage box
A phone stand
A wooden tray
Beginner rule: If it has too many cuts or complicated angles, it’s not your first project.
2) The 5 Essential Tools (Beginner-Friendly)
You don’t need a full workshop. Start with these DIY basics:
Tape Measure – accuracy starts here
Pencil + Square (or ruler) – for straight, clean lines
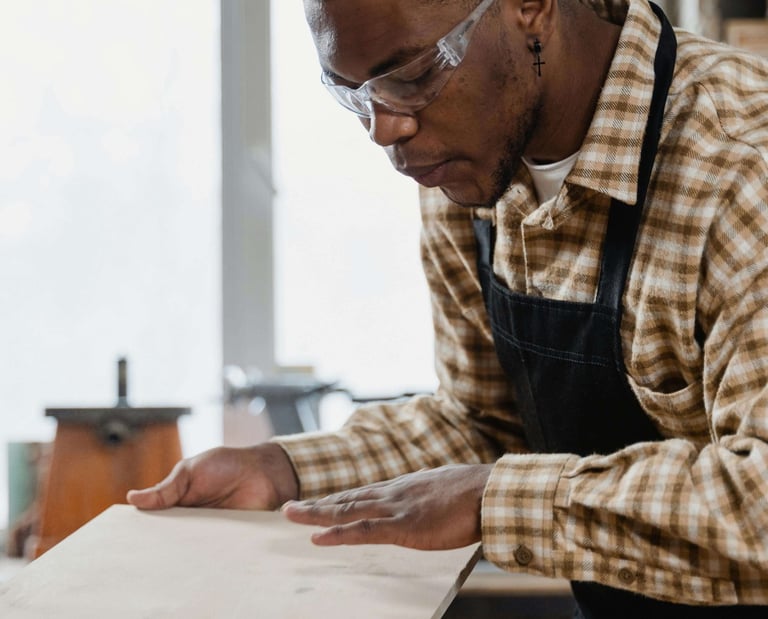
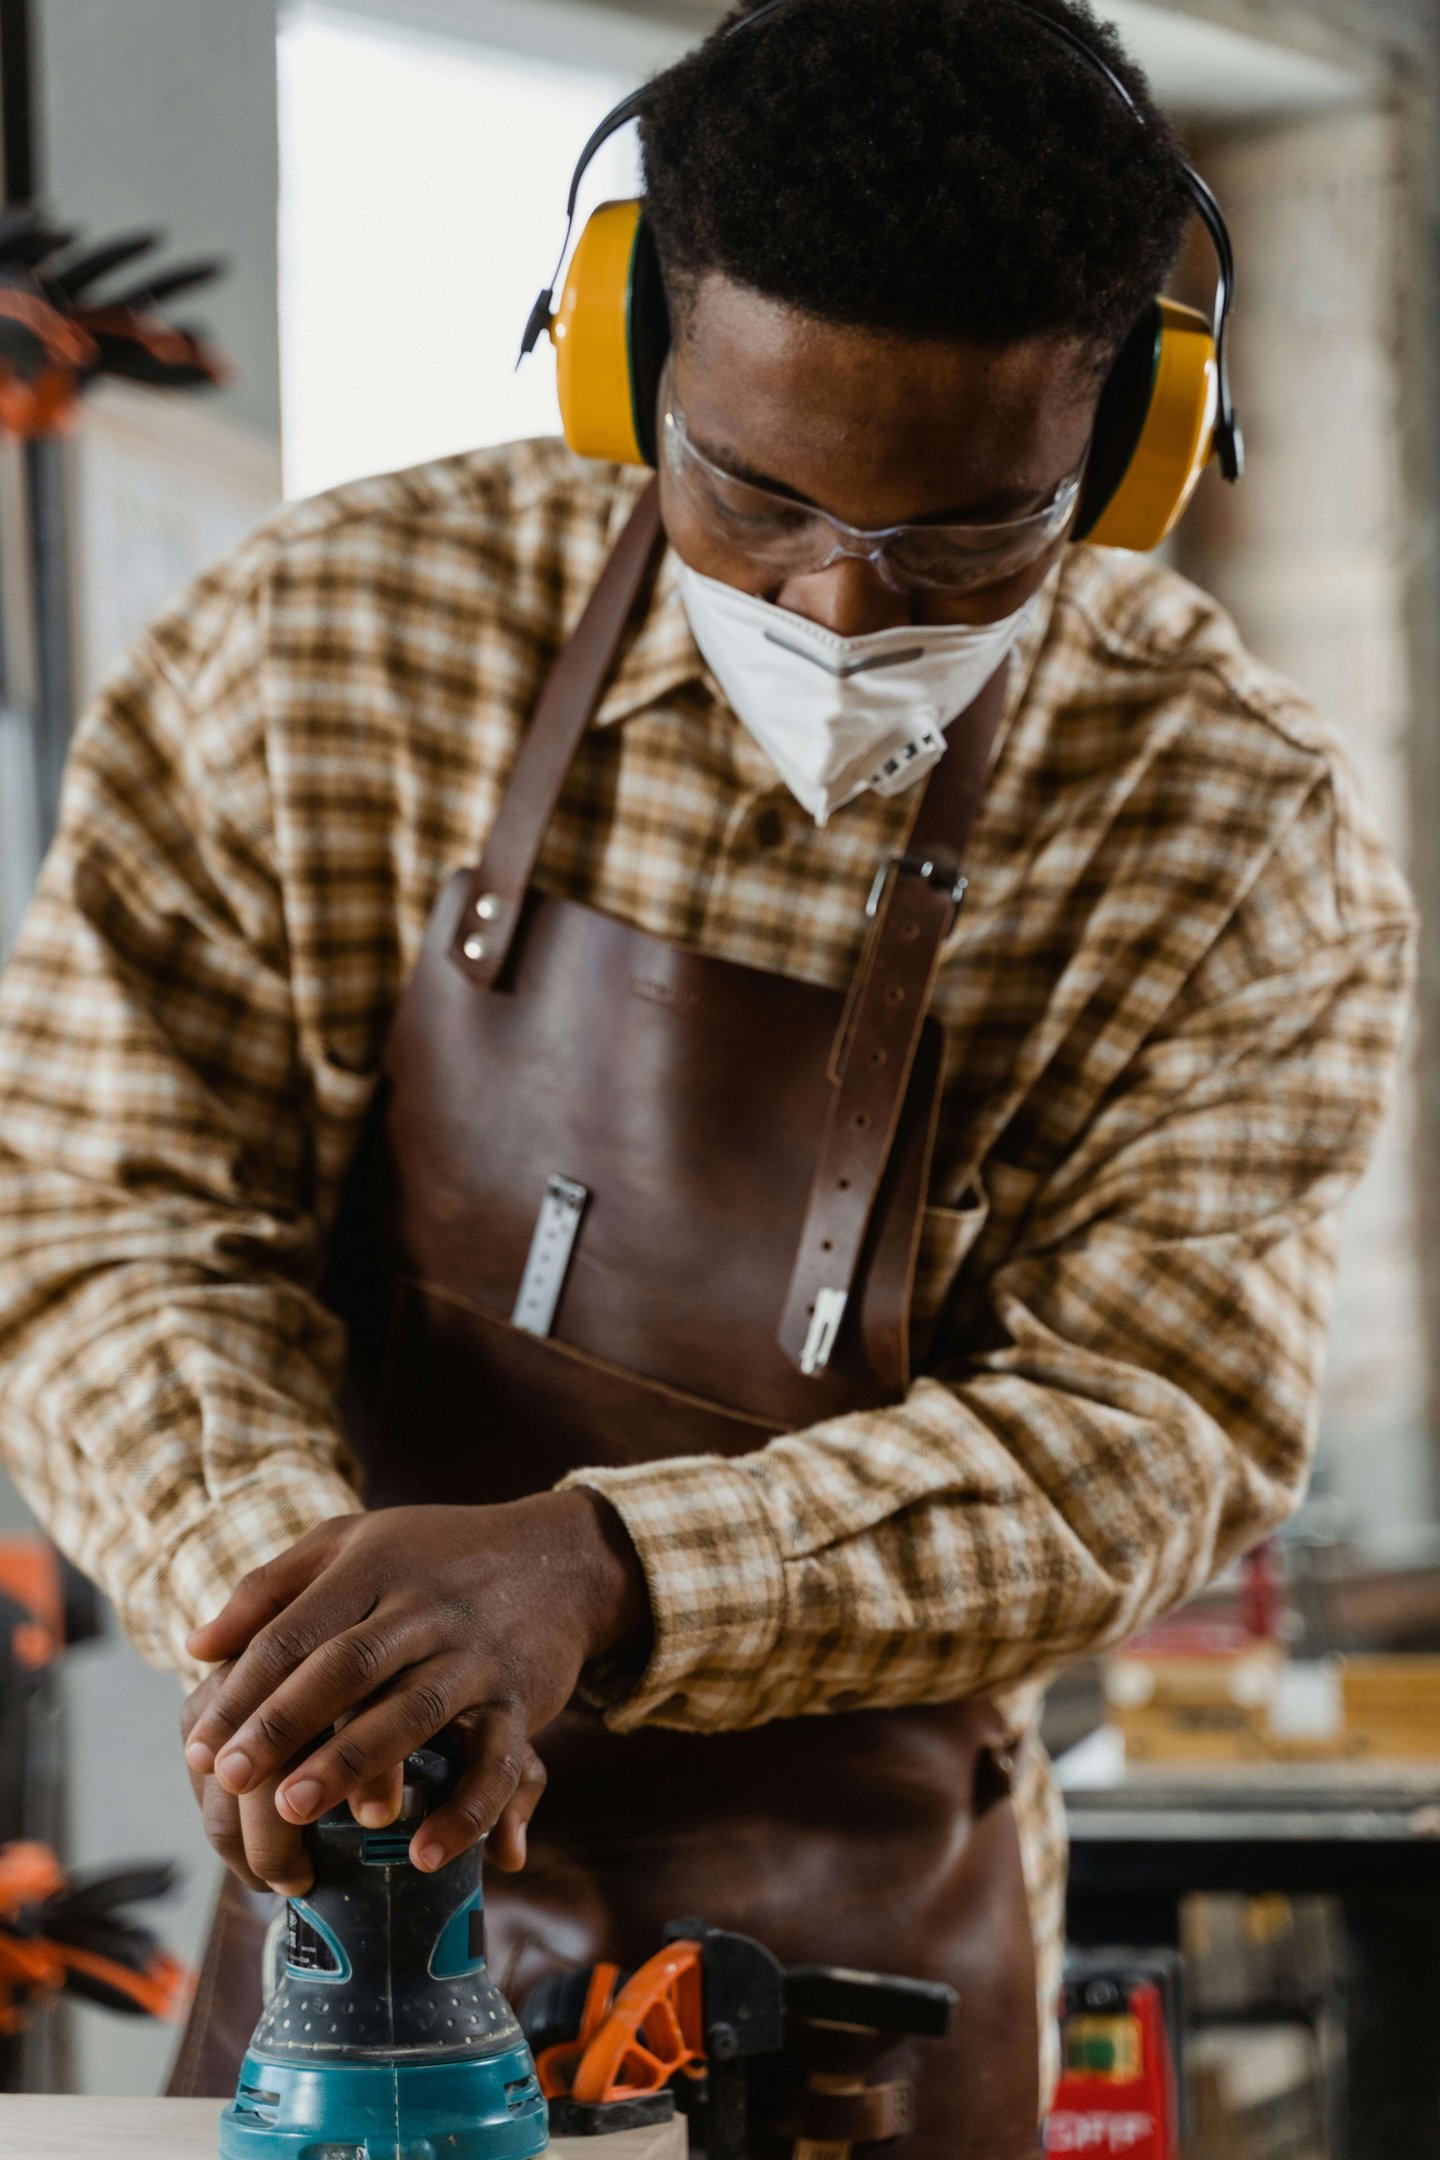
Sanding block / sandpaper – makes everything look “finished”
Screwdriver or drill – for quick assembly
Clamps (optional but amazing) – hold pieces steady while you work
Tip: Borrow tools at first if you can. Buy slowly after you know what you use most.

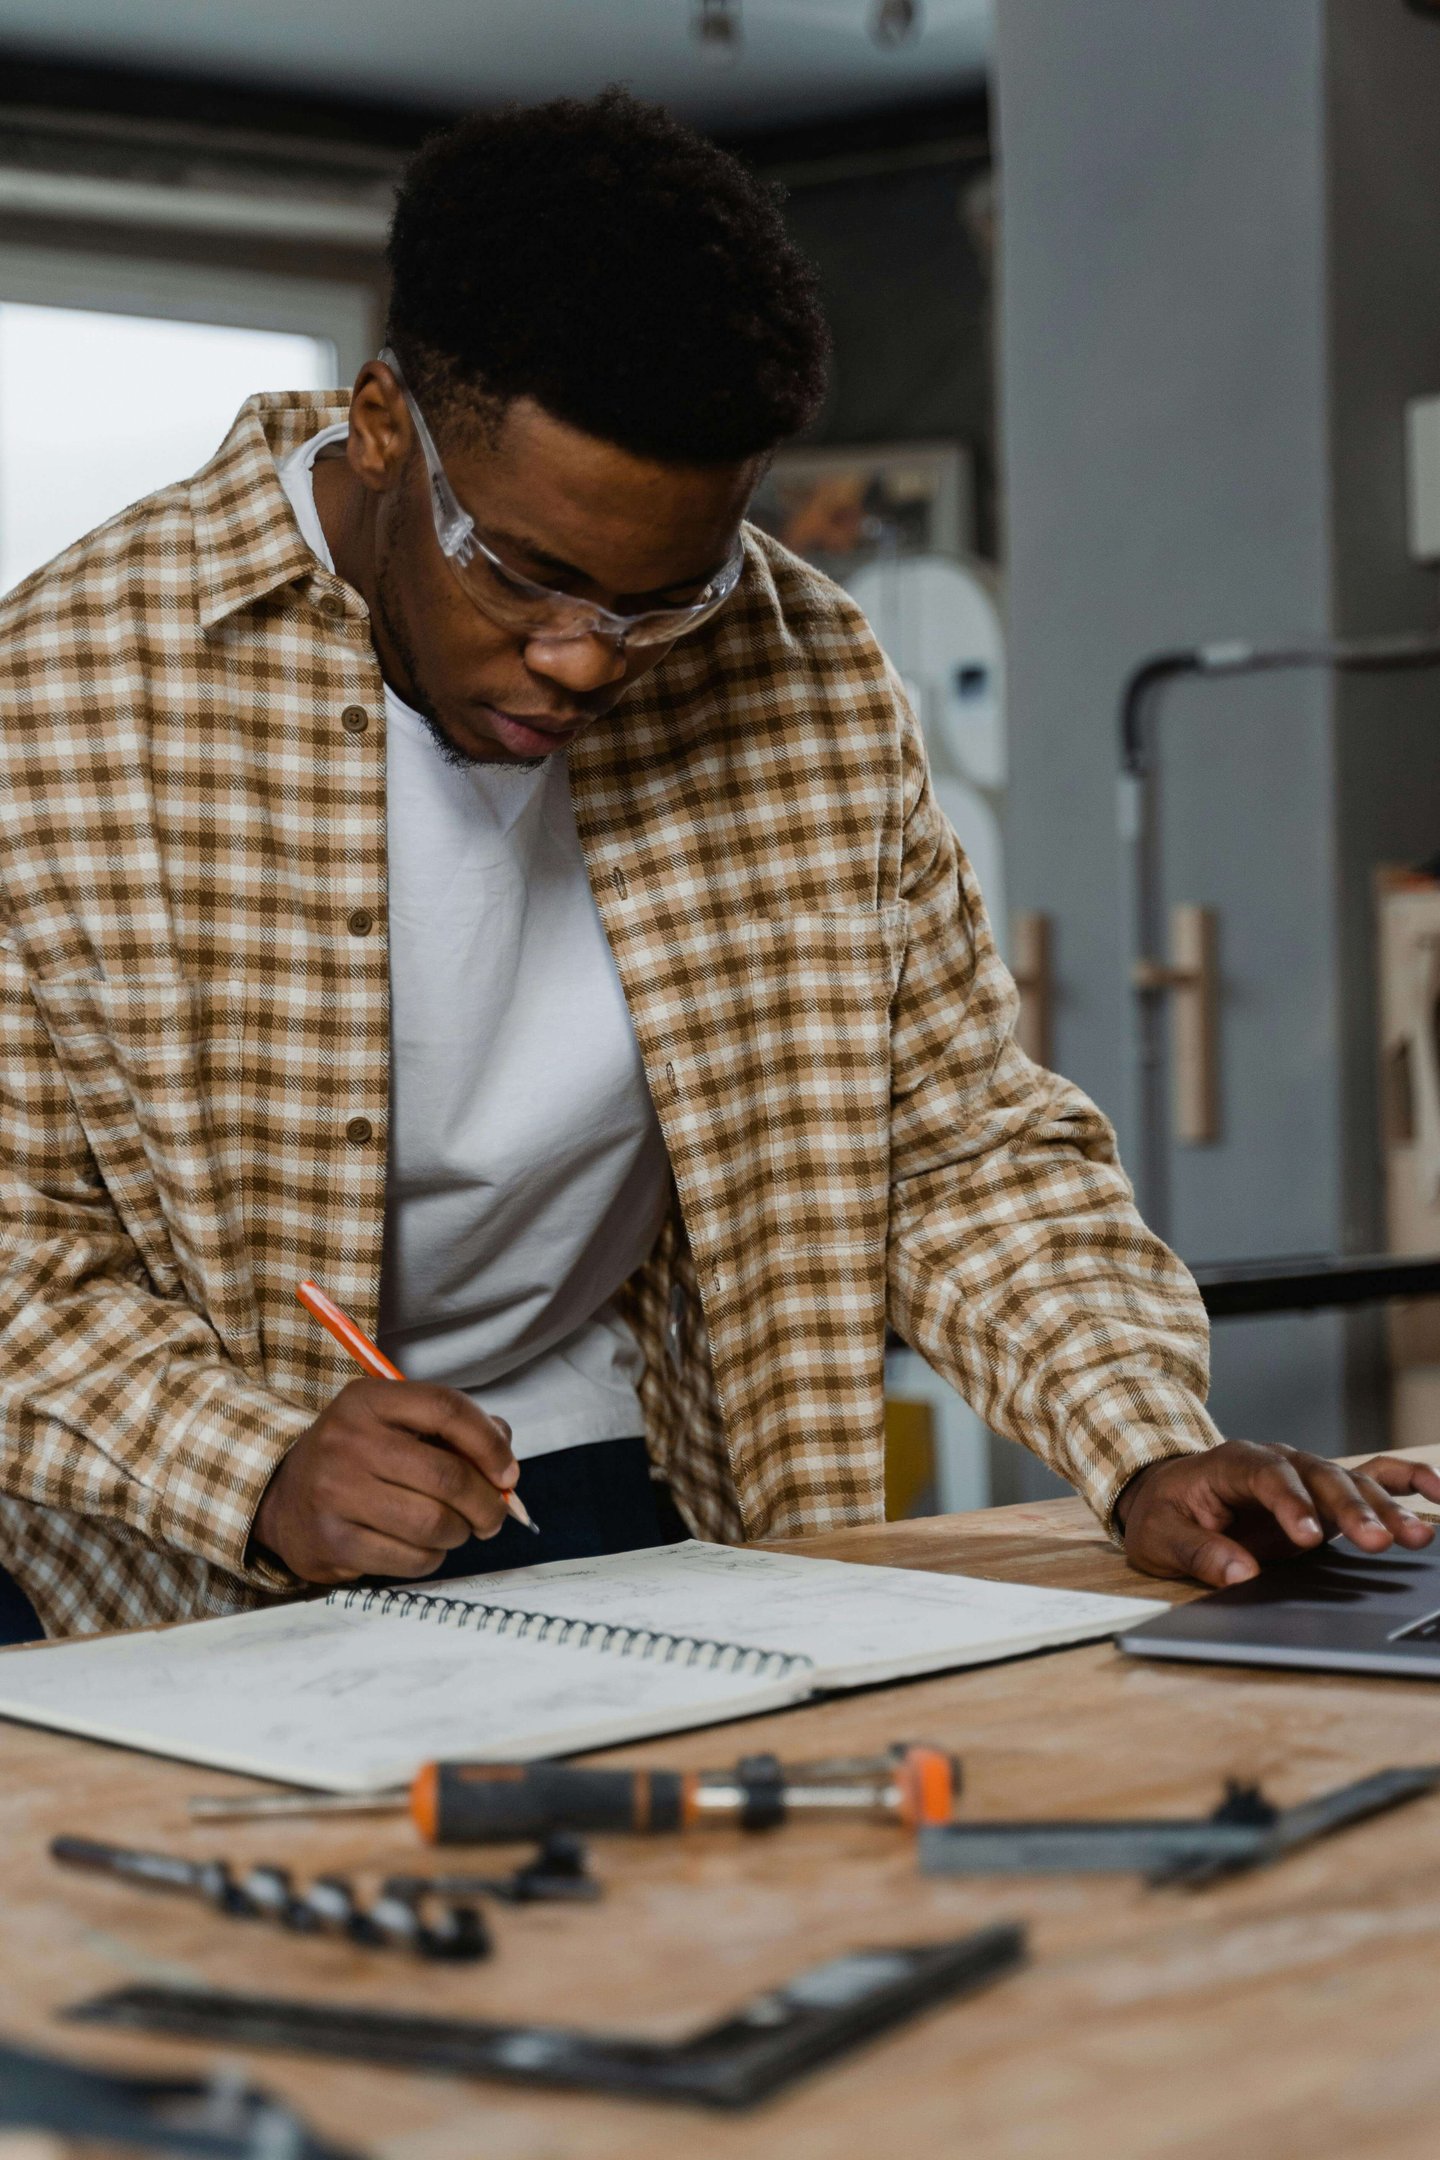
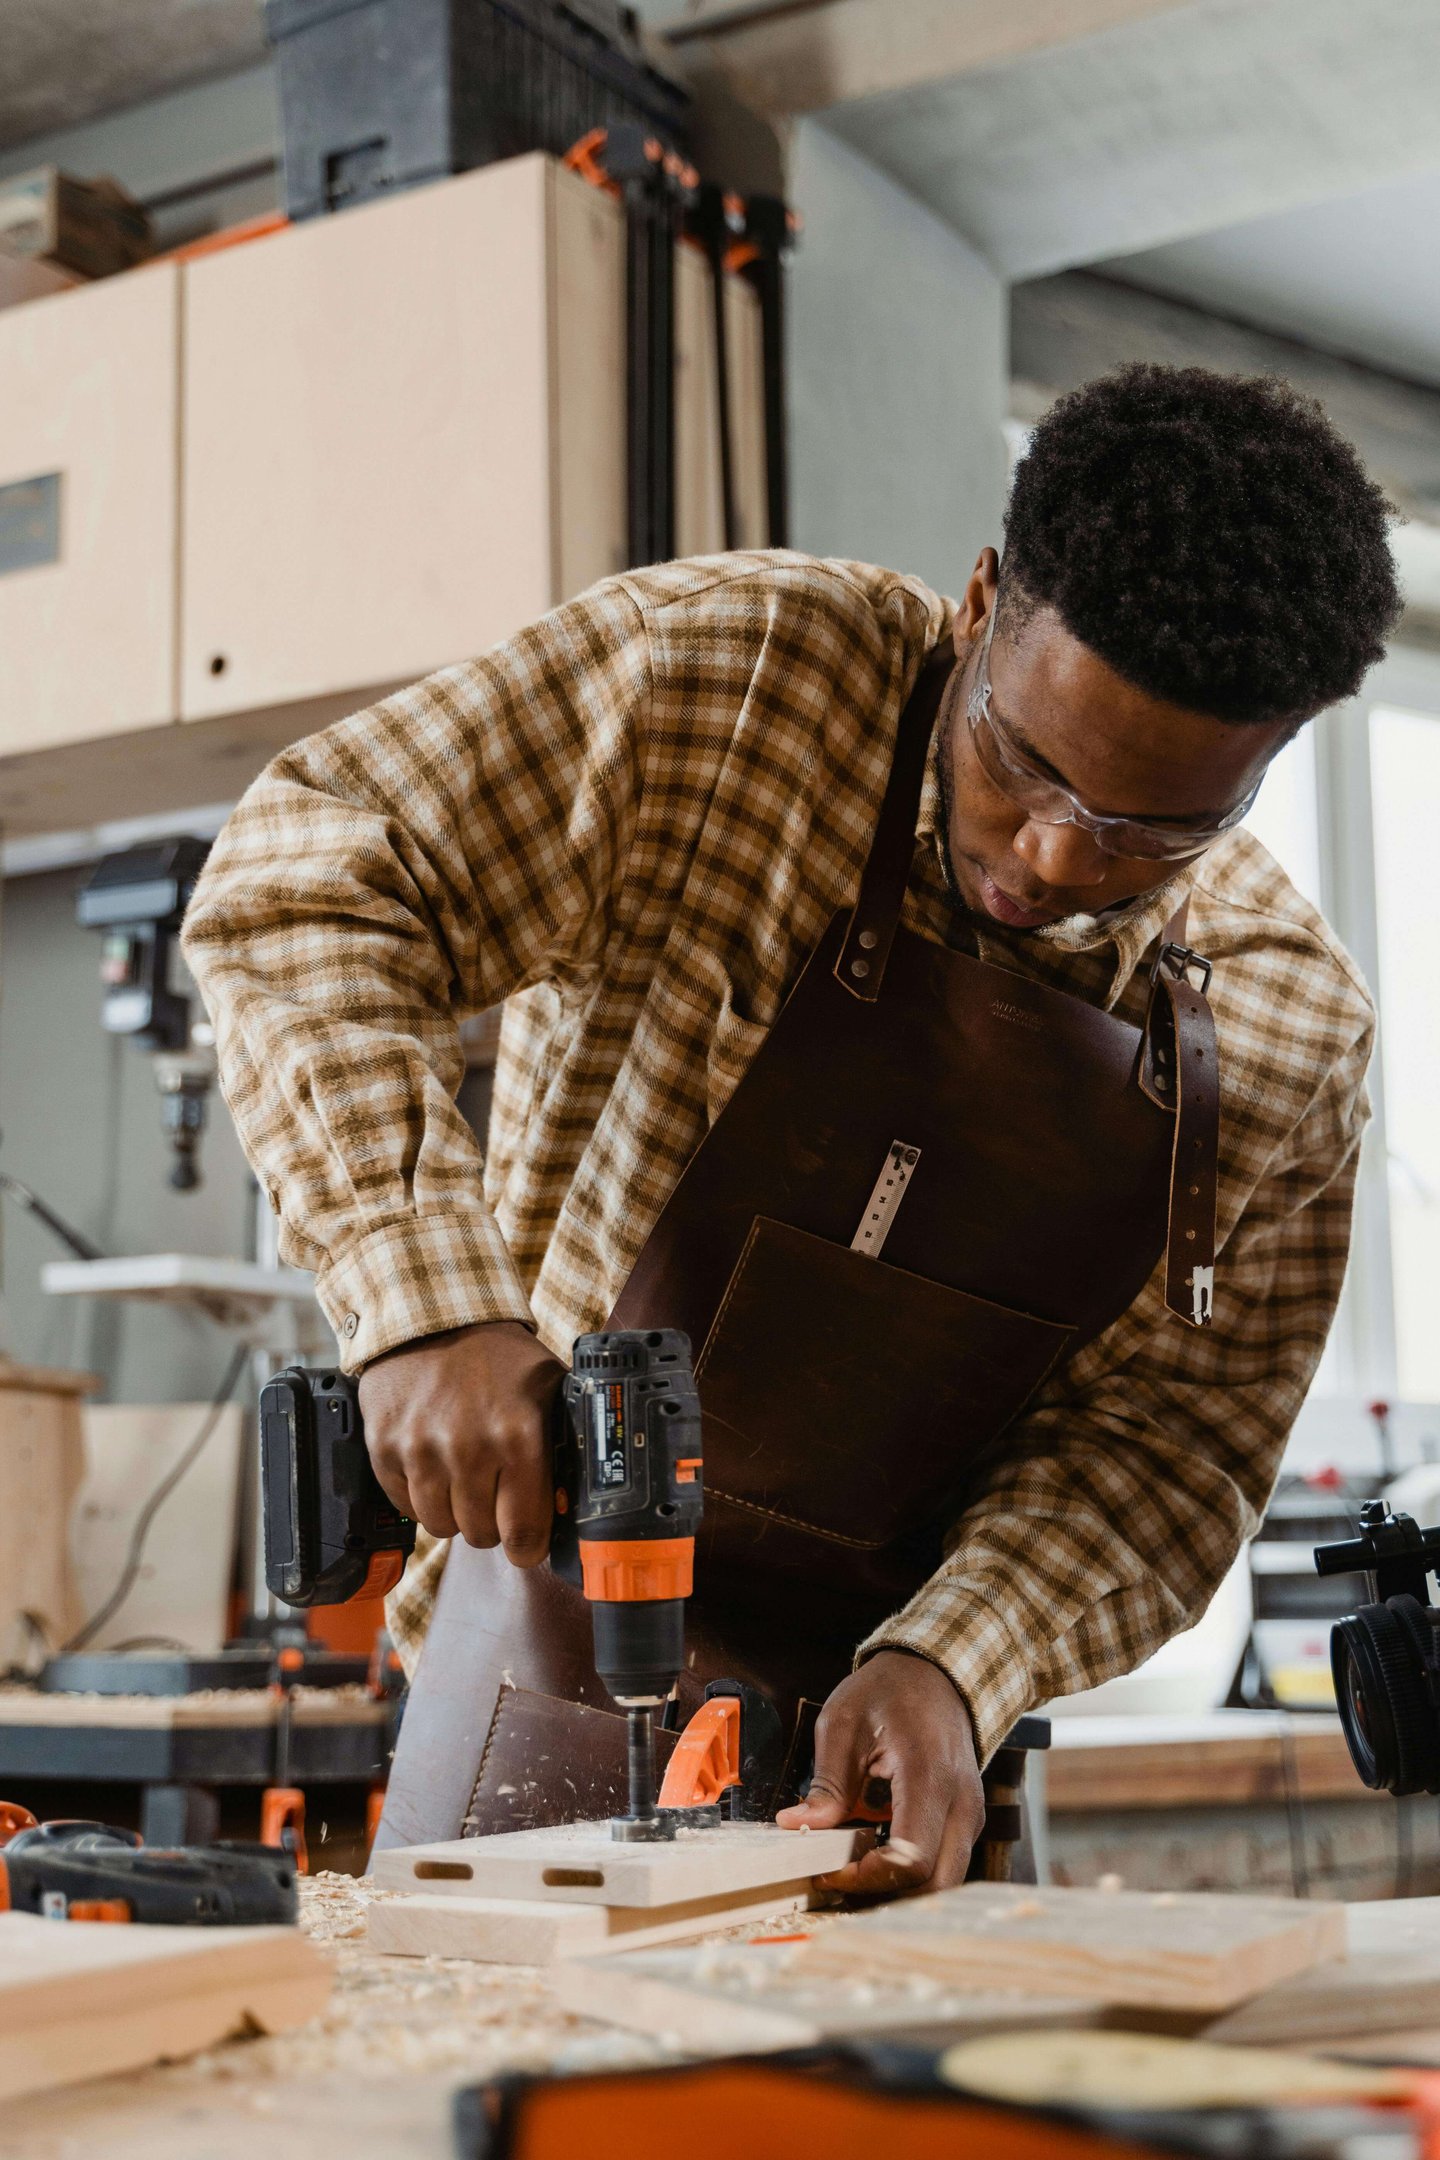
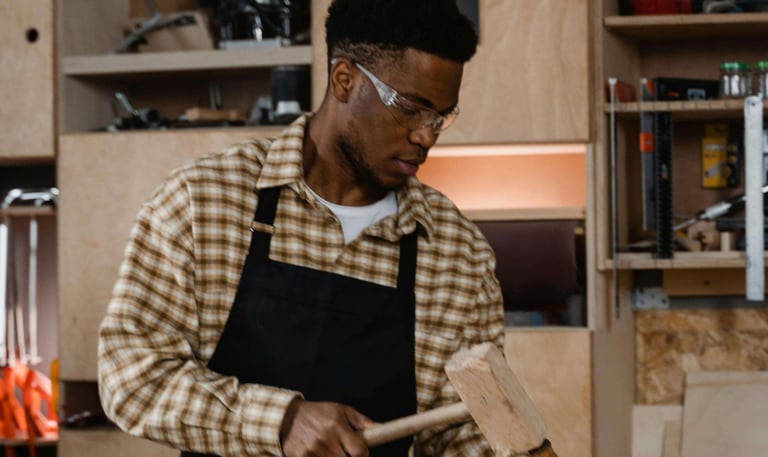
3) Safety Basics (Simple but Non-Negotiable)
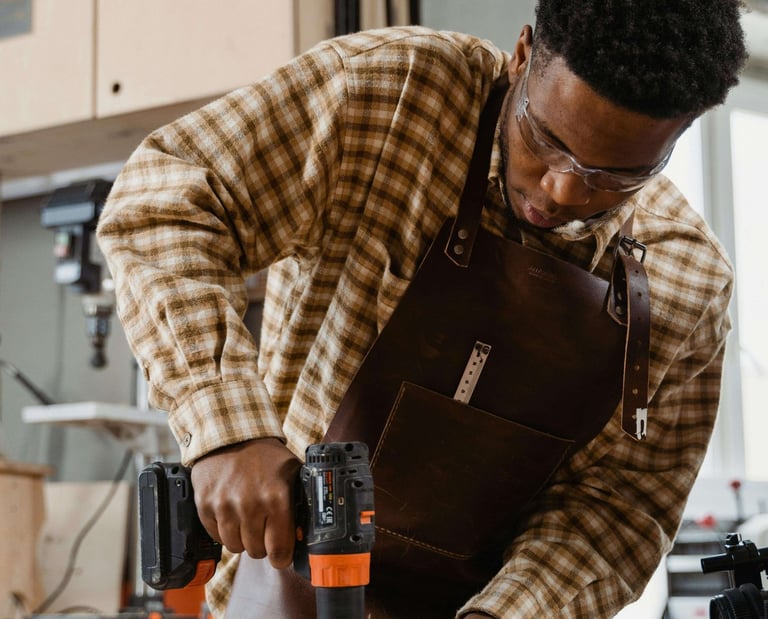
Wear eye protection when cutting or drilling
Keep fingers away from blades/drill bits
Work in a well-lit area
Never rush a cut
Keep your workspace clean to avoid slips
Beginner mindset: Slow = safe = accurate.
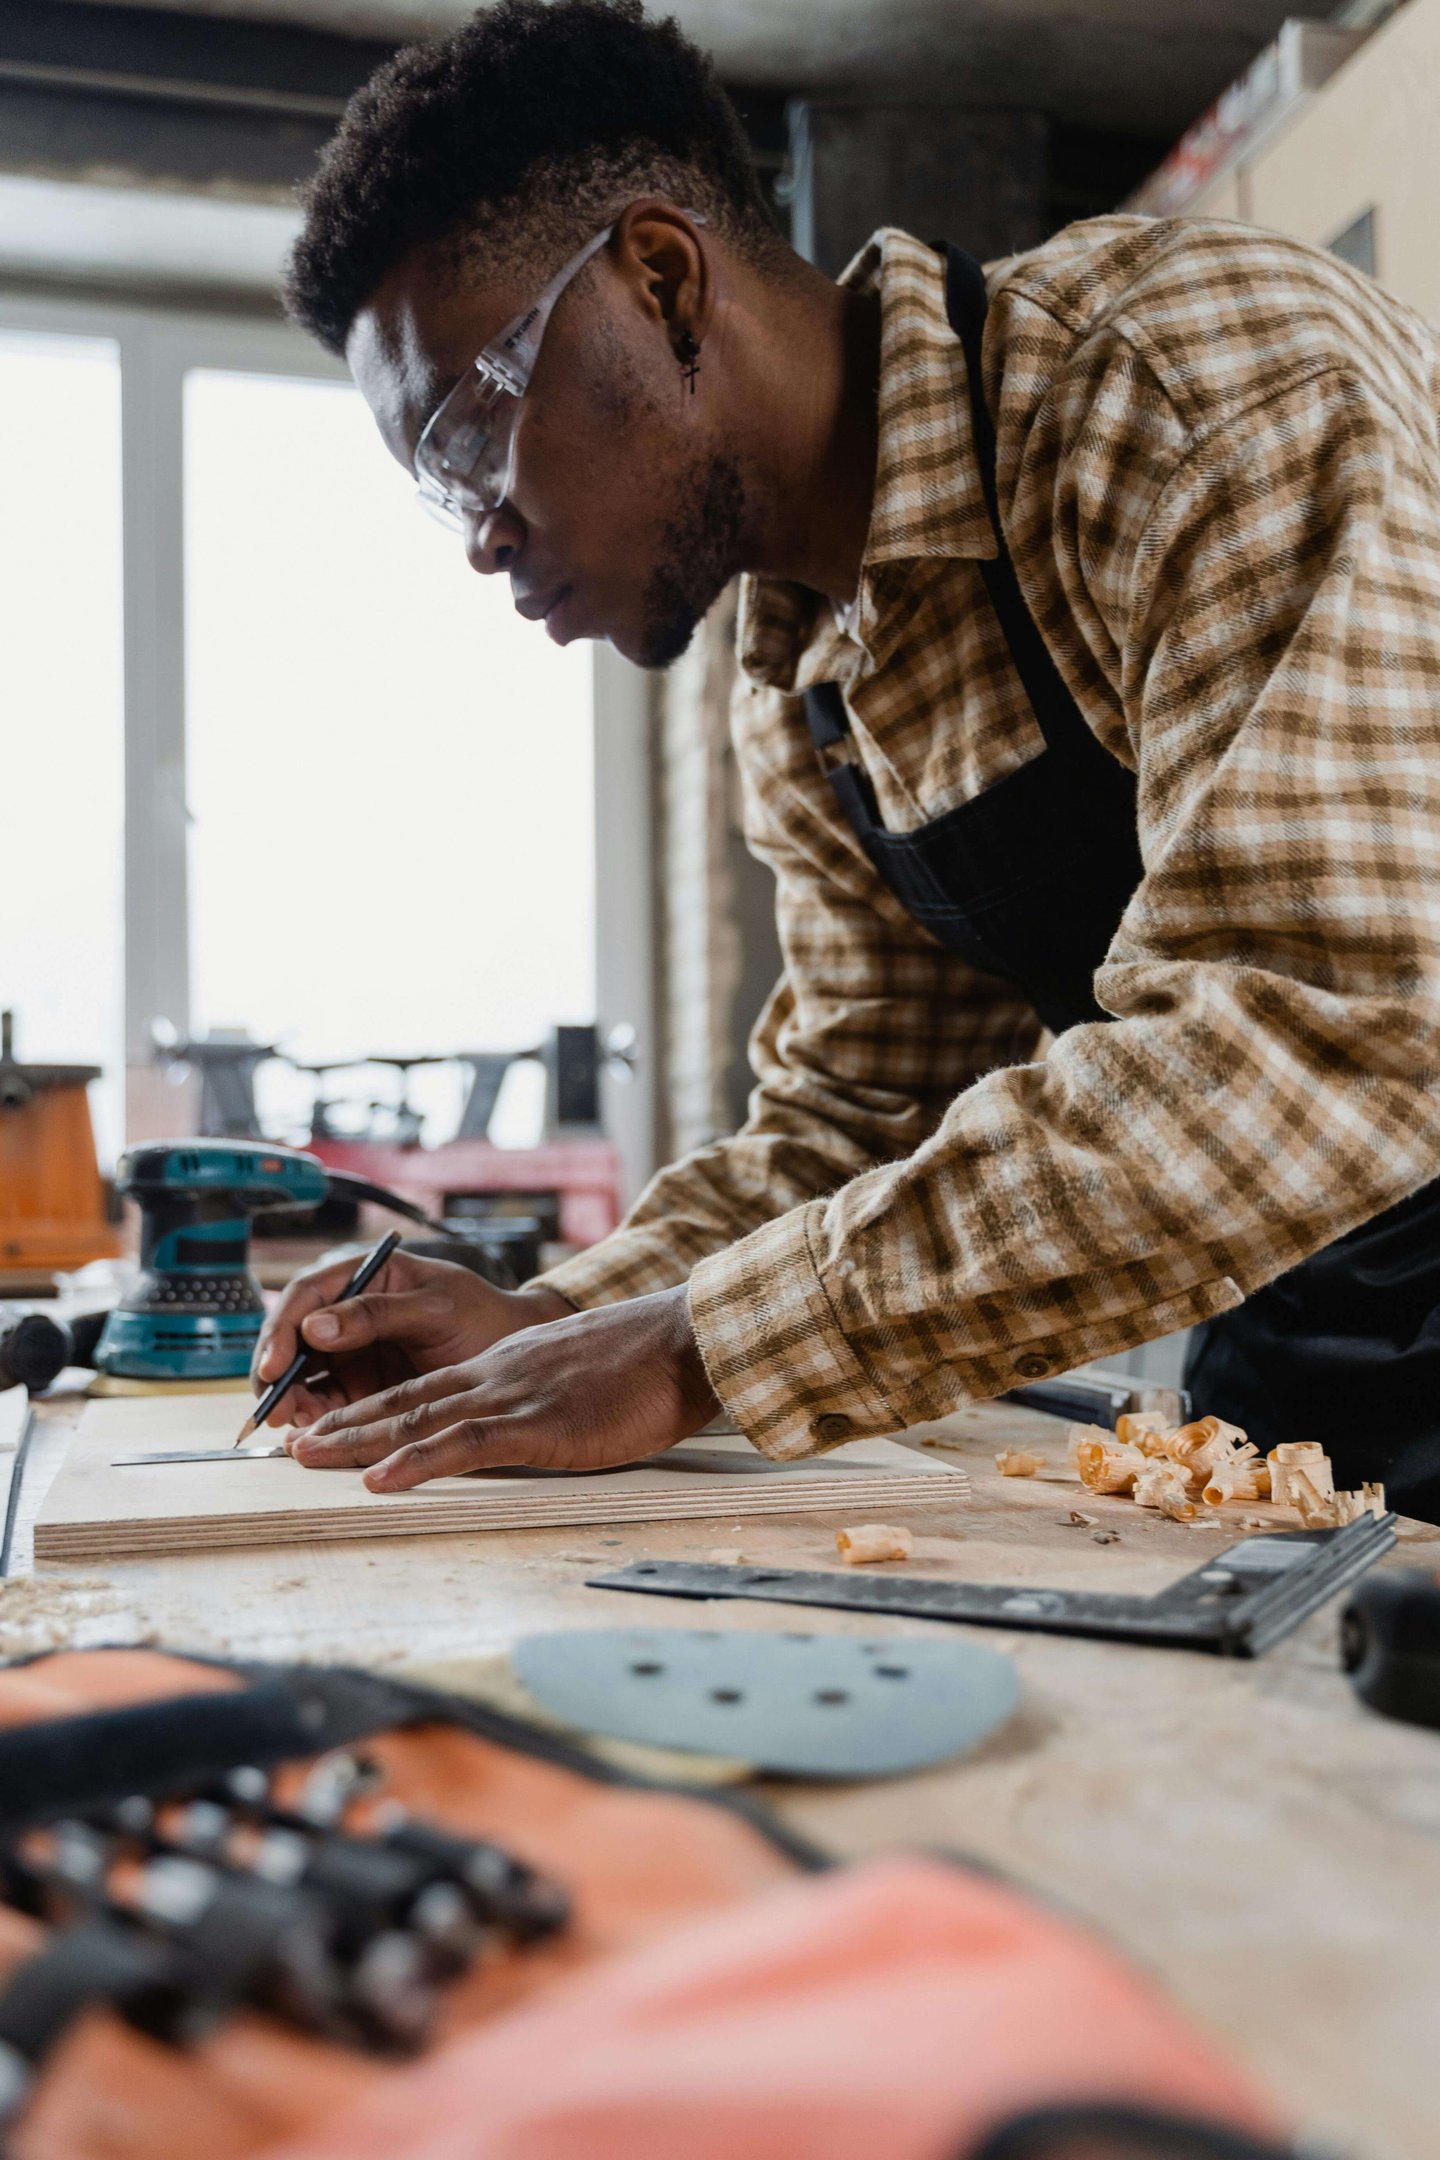
4) Measuring & Marking (This Is Where Most Mistakes Happen)
If DIY feels “hard,” it’s usually measuring not strength or talent.
Do this every time:
Measure twice, cut once
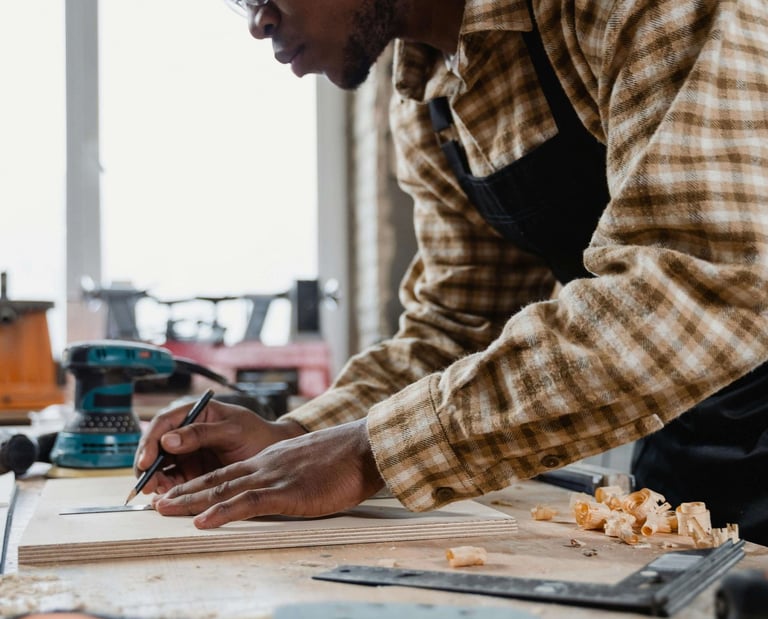
Mark your cut line clearly
Use a square for straight lines
Test-fit pieces before final screws/glue
Mini tip: Use the same tape measure for the whole project (mixing tools can cause tiny differences).
5) Planning: The Simple 3-Step Method
Before you build, answer these three:
What is the final size? (length/width/height)
What materials do I need?
What are the steps in order?
Even a short plan saves time, money, and frustration.
6) Your First “Win” Project (10–20 Minutes)
Try this today: Small Mini Shelf
Cut (or buy) one board
Sand edges
Screw into two brackets (or stack supports)
Mount safely
It’s simple, useful, and gives you momentum.
Common Beginner Mistakes (Avoid These)
✅ Choosing a project that’s too big
✅ Skipping sanding
✅ Not checking measurements
✅ Using the wrong screws
✅ Building without a plan
Fix: Keep your first 3 projects small and repeat the same skill
(measure → cut → sand → assemble).
Want to start with ready made beginner plans?
Recommended for DIY Beginners
FAQ
Do I need expensive tools to start DIY?
No. Start with a tape measure, screwdriver/drill, sandpaper, and a simple plan.
What’s the best first woodworking project?
A small shelf, storage box, or phone stand easy, fast, and builds confidence.
Why do my projects look “messy”?
Usually sanding and measuring. Sand edges and measure carefully before assembly.
How can I avoid wasting wood?
Plan first, measure twice, and do a test-fit before final screws or glue.
DIY Tips for Beginners
"Easy tips,Simple projects,Free plans"
Help
Questions? Reach out anytime we’re happy to help beginners get started.
Contact
Follow us for DIY tips & beginner projects
Email: support@smartdiyguide.online
© 2025. All rights reserved.
Legal